var canvas = document.getElementById('flappy_square_stage3_challenge5');
var context = canvas.getContext('2d');
var interval;
var distance = 0;
var gravity = 0.5;
var boundary = {
minX: 25,
minY: 25,
width: 425,
height: 275
};
var square = {
x: 25,
y: 75,
size: 20,
yVelocity: 0,
jump: -8
};
var wall = {
width: 50,
height: 100,
spacing: 125
};
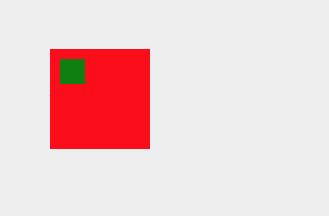
function drawBoundary() {
context.strokeRect(0, 0, boundary.width, boundary.height);
}
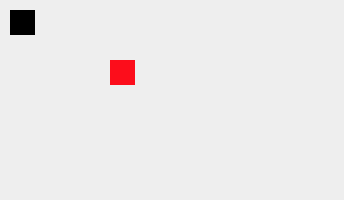
function drawSquare() {
context.fillRect(square.x, square.y, square.size, square.size);
}
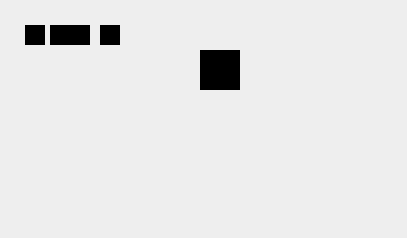
function drawWall(x) {
context.fillRect(x, 0, wall.width, wall.height);
context.fillRect(x, boundary.height - wall.height, wall.width, wall.height);
}
function drawWalls() {
var wallX = distance - wall.width;
if (wallX < wall.spacing) {
wallX = wall.spacing;
}
while (wallX < canvas.width + distance + wall.width) {
if (wallX % wall.spacing === 0) {
drawWall(wallX - distance);
}
wallX += 1;
}
}
function flap() {
square.yVelocity = square.jump;
}
function adjustPosition() {
distance += 2;
square.yVelocity += gravity;
square.y += square.yVelocity;
}
function clearBoundary() {
var maxX = boundary.minX + boundary.width;
var maxY = boundary.minY + boundary.height;
context.clearRect(0, 0, canvas.width, boundary.minY);
context.clearRect(maxX, 0, canvas.width - maxX, canvas.height);
context.clearRect(0, maxY, canvas.width, canvas.height - maxY);
context.clearRect(0, 0, boundary.minX, canvas.height);
}
function checkBoundary() {
if (square.y >= boundary.height) {
endGame();
}
}
function endGame() {
context.font = "20px serif";
context.textAlign = 'center';
var xCenter = boundary.width / 2;
var yCenter = boundary.height / 2;
context.fillText('Game Over', xCenter, yCenter);
pauseAnimation();
}
function programSteps() {
context.clearRect(0, 0, canvas.width, canvas.height);
adjustPosition();
context.save();
context.translate(boundary.minX, boundary.minY);
drawBoundary();
drawSquare();
drawWalls();
checkBoundary();
context.restore();
clearBoundary();
}
function runProgram() {
interval = setInterval(programSteps, 80);
}
canvas.addEventListener('click', flap);
// The following code is provided for you.
// It creates an eventListener that listens
// for the canvas to come into "focus", which
// happens when you click on it.
// This allows us to stop and start each individual
// animation on this whole page separately.
function startAnimation() {
runProgram();
}
function pauseAnimation() {
clearInterval(interval);
}
canvas.addEventListener('focus', startAnimation);
canvas.addEventListener('blur', pauseAnimation);
canvas.focus();